The self-tape has become one of the most widely used tools in castings and auditions. It allows actors to present their work through video and, increasingly, represents the first encounter with the people who will evaluate their performance.
You do not necessarily need a professional camera, and you do not need to build a set.
What matters is making sure that nothing distracts from what really counts: your performance.
A distracting background, an unstable camera, poor lighting or unclear audio can make even a strong performance more difficult to evaluate.
Preparing your self-tape carefully means creating the best possible conditions for the person watching to focus on you.
Before recording: prepare the text
The work begins before you switch on the camera.
Choose the material required for the audition and carefully read all the instructions you have received. If you are free to choose your own material, select a monologue that feels right for you and allows you to work consciously on your performance.
Do not automatically choose the most complex text or the one you think will impress the person watching the most.
The aim is not to demonstrate how difficult your choice is, but to show how you work with the material.
Study the character
Before recording, take time to understand the situation, the character and what is happening within the text.
Ask yourself what the character wants, who they are speaking to, why they are saying those words and what changes during the scene.
Knowing the text does not simply mean remembering the lines. It means having enough command of the material to focus fully on the performance.
Learn the text by heart
When required by the audition, the text should be memorised.
Continuously reading from a page or trying to remember the next line inevitably limits your presence in front of the camera.
The better you know the text, the less you need to think about the words and the more you can actually work on the scene.
Choose a simple setting
You do not need a professional studio to create a good self-tape.
Choose a quiet space with a simple, distraction-free background. A white or neutral-coloured wall is usually a good solution.
Avoid cluttered rooms, highly visible objects, televisions, people walking through the frame or anything else that might draw attention away from your performance.
The setting should remain in the background.
You should remain at the centre.
Keep the camera steady
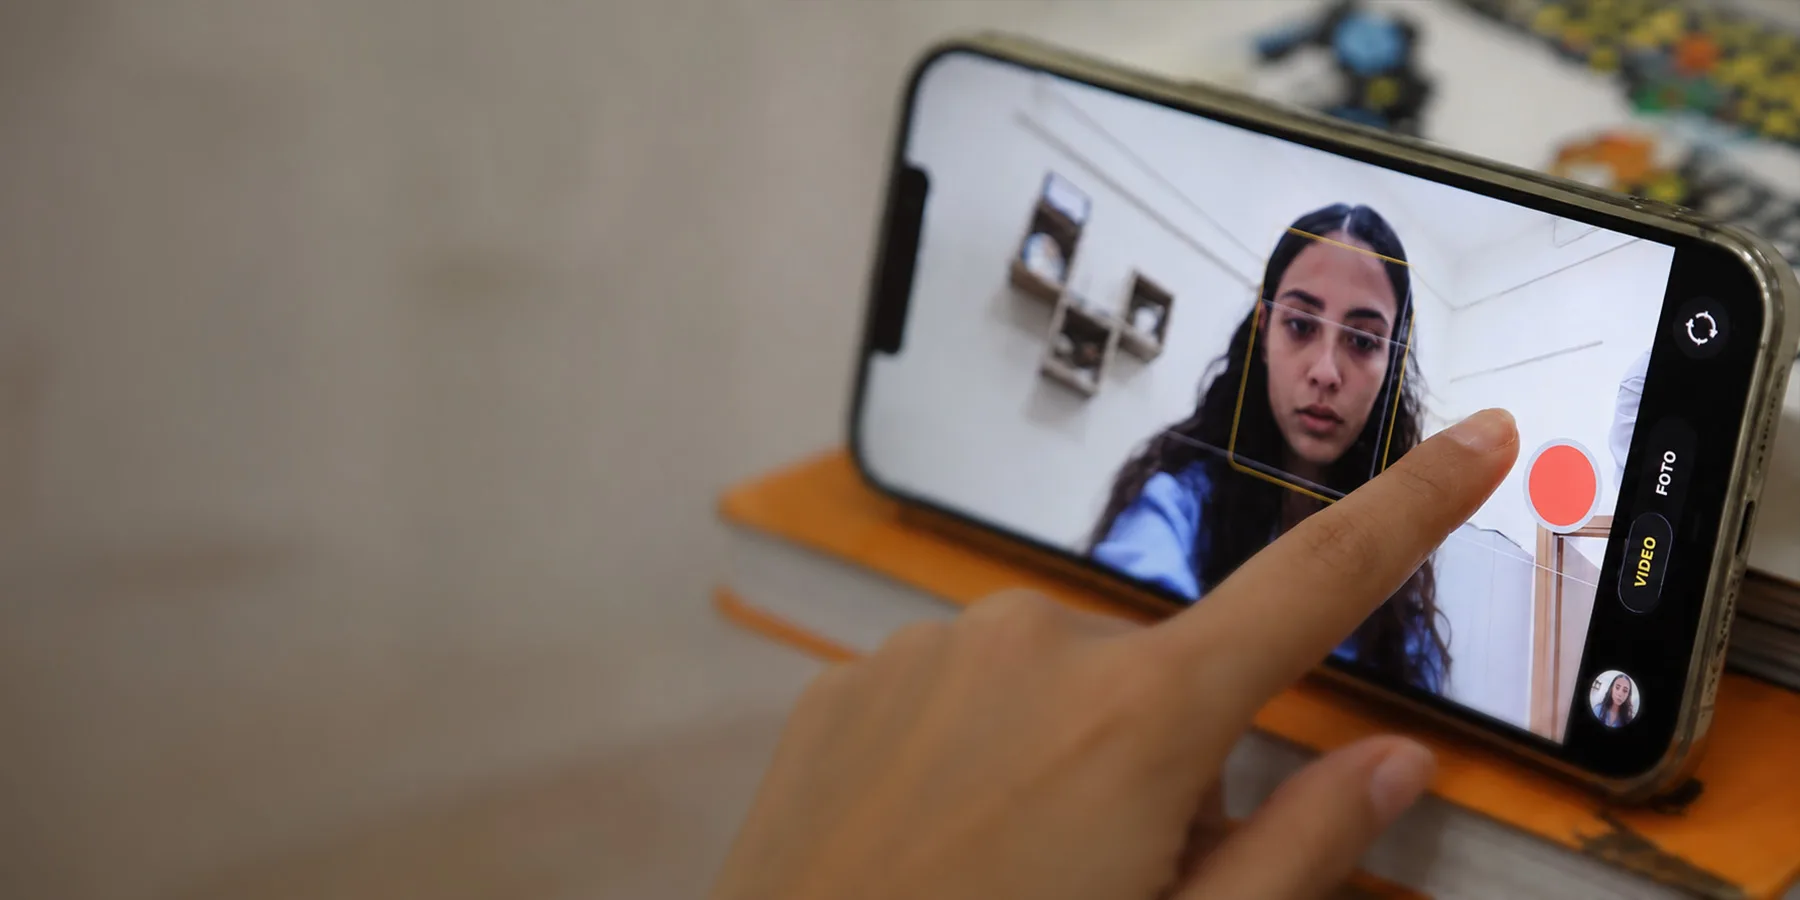
Your camera or smartphone should remain completely stable.
Whenever possible, use a tripod. Alternatively, place the device securely on a stable surface. Avoid recording while holding the smartphone yourself or asking someone else to hold it for you.
Position the camera approximately at eye level and use a close-up or medium shot, unless the audition instructions specify otherwise.
If you are using a smartphone, record horizontally.
During the performance, look just off-camera as though your scene partner were standing in front of you, rather than staring directly into the lens unless the scene specifically requires it.
Before starting, always record a short test to check your framing.
Pay attention to lighting
Your face should be clearly and naturally visible.
Above all, avoid placing your main light source behind you. A bright window in the background may cause the camera to expose the background correctly while leaving your face too dark.
Whenever possible, use natural light coming from the front or slightly from the side.
If you are using artificial lighting, make sure it illuminates your face without creating excessively harsh shadows.
There is no need to buy specialist equipment: a well-positioned lamp may be more than enough.
The goal is not to create a cinematic image.
The goal is to make sure you can be seen clearly.
Check the audio
A good image with unintelligible audio still makes for a bad self-tape.
Record in a quiet environment and avoid continuous background noise from traffic, televisions, appliances or other people.
Keep an appropriate distance from the recording device and always make a short test before recording the final version.
Listen back to the recording, preferably using headphones, and make sure every word can be clearly understood.
Again, a professional microphone is not essential. In a sufficiently quiet environment, the microphone built into a modern smartphone can be perfectly adequate.
During the recording
Feeling more tense in front of a camera is normal.
One of the advantages of a self-tape is that you can allow yourself a few attempts before recording the final version.
Use them to check both the technical aspects and your work on the text.
Do not, however, turn the recording into an obsessive search for perfection.
Repeating the same performance dozens of times can lead you to reproduce identical gestures, pauses and intonations, gradually losing spontaneity and the ability to listen.
The best take is not necessarily the one without the slightest imperfection.
It is the one in which you are truly present in the scene.
The final take
When you feel ready, record your take.
Avoid cuts, editing, music, visual effects, beauty filters or transitions unless they are specifically requested.
A self-tape should allow your acting work to be evaluated, not your video-editing skills.
If necessary, record several takes and then choose the one you feel works best.
The most common mistakes to avoid
Before submitting your self-tape, check that you have avoided some of the most frequent mistakes:
- a background that is too busy or distracting;
- an unstable camera;
- framing that is too wide or inappropriate;
- vertical recording when horizontal video is required;
- the main light source positioned behind you;
- a poorly lit face;
- audio that is too quiet or disturbed by background noise;
- background music;
- filters or effects that have not been requested;
- insufficient preparation of the text;
- a file format or size that does not match the audition requirements.
Every audition may require different specifications.
Before recording and submitting any material, always check the specific instructions for the audition you are taking part in.
Self-tapes for the SRC 2026/2029 Online Auditions
For the Online Auditions for the SRC 2026/2029 Three-Year Academic Program, candidates are required to submit two videos.
Video 1
A short personal introduction followed by a monologue of your choice, not a dialogue.
Maximum total duration: 3 minutes.
Video 2
A poem performed from memory.
Maximum duration: 1 minute and 30 seconds.
Videos must be recorded in 1080p HD, preferably in MP4 format, and each file must be smaller than 100 MB.
Record horizontally, use a close-up or medium shot and make sure that both the lighting and audio allow your performance to be seen and heard clearly.
Both the monologue and the poem must be performed from memory.
Name your files using your first and last name.
After completing the aptitude questionnaire, both self-tapes can be uploaded directly through the School of Acting of Calabria’s secure submission form.
There is therefore no need to use WhatsApp, WeTransfer or any other external service to submit your videos.
The SRC 2026/2029 Online Auditions are open until September 30, 2026.
Prepare. Then make room for the scene.
A well-made self-tape is not about proving that you own a better camera.
It is about removing anything that could distract from your performance.
Prepare the text, check what needs to be checked, and then stop thinking about the camera.
Your self-tape does not need to prove that you have already arrived. It needs to show where you can begin.